What is covered in this article?
- Getting started
- Filtering your list of recipients
- Specifying the Activity Log entry
- Sending or scheduling the message
Getting started
- Go to Communications > Emails.
- Under Drafts, locate the Draft message for which you would like to select an audience.
- Under Actions, click the clock icon for Select Audience and Schedule. You will choose this option even if you want to send a message right away.

Filtering your list of recipients
Next, you will decide who in your contacts list will receive the email. You may send to your entire recipient list or use the filters to target a specific group of recipients.

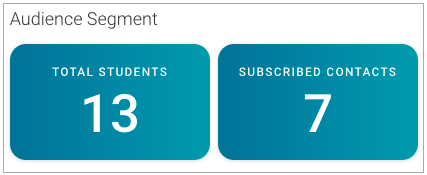
Recommended best practice: After you have specified the filter options, click on the Total Students or Total Contacts box to review the list of recipients.

Tip: Your school's extracurricular programs and special areas of study can engage and excite families! If you have captured information about what your families are looking for, you have the opportunity to send email communications that are on target based on a student's area of interest.
Specifying the Activity Log entry
Specifying the activity is optional, but recommended. When this option is selected, the corresponding activity will be recorded in each student's Activity Log. This is a great way to help keep track of touch points with a family.

Sending the message
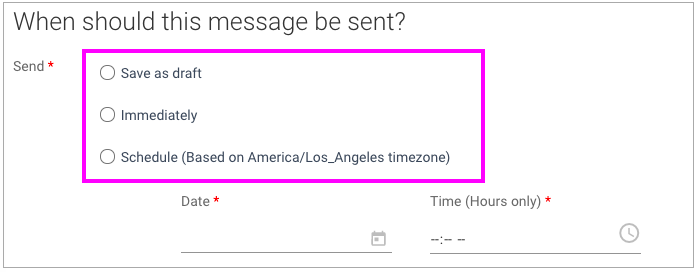
The next step is to decide when the message will be sent. There are two options:
- Send immediately
- Send on a specific date and time

Note: The recipient list is set at the time you create your audience. So, if you choose to schedule your email to be sent at a later date, the recipient list will not update to include additions/changes in the student or contacts lists. It is recommended to edit/update your audience list once the date gets closer so that all relevant recipients are included.
Still have questions? Click here to submit a request for further assistance.
Comments
0 comments
Article is closed for comments.